In a nutshell
- 🧪 Science-backed duo: vinegar (acetic acid) dissolves limescale and grease while baking soda provides a gentle abrasive; use a microfibre cloth and always wipe with the grain to avoid swirl marks.
- 🧭 Quick method: Spray a 1:1 vinegar:water mix, wipe, spot-treat with a 3:1 baking soda paste, rinse, and buff dry; finish with a one-drop oil polish for a showroom sheen in 10–15 minutes.
- ⚠️ Avoid pitfalls: No steel wool, no long acid soaks, and don’t seal vinegar + bicarb together; test coated finishes first and combat hard-water streaks by rinsing with deionised water.
- 🔄 Pros vs. Cons: Pros—low-cost, low-tox, effective on grease, prints, and scale; Cons—not ideal for severely damaged or lacquered steel, potential residue/haze, and re-spotting in hard-water areas.
- 📈 Case study win: A Manchester flat-share restored a fridge, sink, and kettle zone in 12 minutes for under 20p, with noticeably higher reflectivity and fewer midweek smears.
Stainless steel should gleam, not glare at you with fingerprints, streaks, and smudges. The good news? Two cupboard staples—vinegar and baking soda—can restore that showroom sparkle without harsh fumes or pricey polishes. This eco-friendly pairing tackles grease, limescale, and light tarnish across hobs, fridges, sinks, and extractor hoods. As a UK home reporter who’s tested countless methods, I rate this as both cost-effective and reliably quick. The key is a gentle, grain-respecting routine backed by simple chemistry and a few pro touches. Below, you’ll find the why, the how, the pitfalls to dodge, and a real-life case study—so your stainless steel shines, and stays shining.
Why Vinegar and Baking Soda Work on Stainless Steel
Stainless steel owes its resilience to a thin chromium oxide film that resists corrosion. Everyday grime, however, defeats shine more than structure. Vinegar (acetic acid) cuts through alkaline deposits—think hard-water marks from a busy kettle or splashy sink—while lifting oily residue left by hands and cooking. Baking soda (sodium bicarbonate) acts as a gentle, water-softened abrasive that won’t gouge the surface when used with a microfibre cloth. Together, they offer a safe one-two punch that’s kinder to your kitchen and wallet than strong solvents.
What makes this pairing especially useful is the contrast in action: vinegar breaks the bond between grime and steel; baking soda helps polish without scratching. You’re cleaning and buffing in one low-cost routine. It’s also a smart choice for households that prefer minimal synthetic chemicals. That said, avoid long, wet soaks in strong acids; quick contact and thorough drying maintain the metal’s protective layer. For food-contact zones, rinse well—bicarbonate can leave a faint film if not wiped away completely.
Step-by-Step Method: From Dull to Gleaming in Minutes
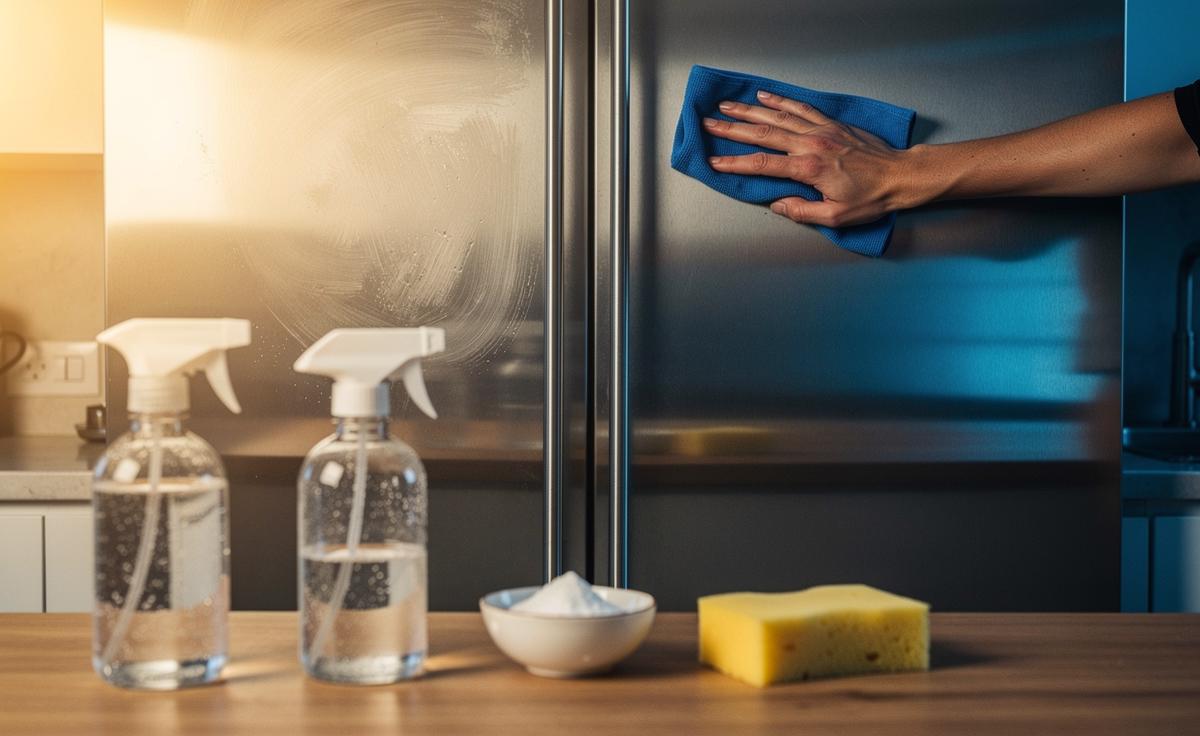
For a standard kitchen appliance door or sink, allow 10–15 minutes. You’ll need white spirit vinegar, baking soda, warm water, two microfibre cloths, and a soft sponge. Always wipe with the grain—horizontal on many doors, circular in some basins. Skipping this is the fastest route to visible swirl marks.
Steps that consistently deliver a mirror finish:
- Make a 1:1 spray: equal parts vinegar and warm water. Mist lightly over the surface; wait 60–90 seconds.
- Wipe with a damp microfibre cloth along the grain to lift grease and prints.
- For stubborn spots, mix a paste: 3 tsp baking soda to 1 tsp water. Dab, then glide a soft sponge gently.
- Rinse with clean water and buff dry immediately with a fresh cloth.
- Optional: add one drop of food-safe mineral or olive oil to the cloth and polish for a showroom sheen.
Never use steel wool or harsh scouring pads; they’ll permanently haze the finish. If your tap water is very hard (common in parts of the South East), finish with deionised or boiled-and-cooled water to avoid new spots.
| Task | Mix/Tool | Contact Time | Notes |
|---|---|---|---|
| Degrease | 1:1 vinegar:water spray | 60–90 sec | Do not oversoak; wipe with the grain |
| Spot polish | 3:1 baking soda paste | 30–60 sec | Gentle pressure only |
| Final buff | Microfibre + 1 drop oil | Immediate | Removes haze and boosts shine |
Avoiding Common Mistakes and When This Method Isn’t Ideal
While the vinegar–bicarbonate duo is robust, it’s not foolproof. Don’t let acidic solutions pool on edges or sit for long; wipe promptly to protect the passive layer. If you notice a chalky film, you likely used too much baking soda or didn’t rinse. A quick re-wipe with warm water solves it. For coated or “anti-fingerprint” finishes, test behind a kick-plate or hinge first—abrasion, however gentle, could dull a lacquered coating.
In rare cases—deep rust, heavy tea-staining on outdoor railings, or tool scuffs—reach for a dedicated stainless steel cleaner or a neutral pH polish designed for brushed metal. Avoid bleach and chloride-heavy agents; they can pit steel. Also, never mix vinegar and baking soda in a sealed bottle—CO2 pressure builds rapidly. For streak-free results in hard-water areas, finish with deionised water and a dry buff.
| Pros | Cons |
|---|---|
| Low-cost, low-tox, food-safe when rinsed | Not ideal for coated or severely damaged steel |
| Effective on grease, prints, limescale | Overuse can leave residue or haze |
| Quick routine; minimal kit needed | Hard water may re-spot without careful drying |
Real-World Results: A Quick Kitchen Case Study
In a busy Manchester flat-share, our test set-up included a brushed-steel fridge door, a splash-prone sink, and a kettle station notorious for limescale freckles. The routine above took 12 minutes end-to-end. The vinegar spray cut through months of touch marks in two passes, while a pea-sized baking soda paste sorted three stubborn tea stains near the sink overflow. After a deionised-water rinse and microfibre buff, reflectivity improved visibly; the team noted fewer smears even after a week, likely thanks to the light oil finish acting as a barrier.
Cost-wise, we used roughly 40 ml vinegar and 10 g baking soda—less than 20p at supermarket prices. More importantly, nobody complained about “chemical” smells. The fridge door, previously a magnet for toddler handprints, needed only a quick dry-cloth wipe midweek. Takeaway: consistency trumps intensity. A weekly light pass keeps stainless steel glossy, while deep scrubs become rare, shorter, and gentler.
Vinegar and baking soda won’t fix every flaw, but they excel at restoring day-to-day radiance without fuss, fumes, or a dent in your budget. With a microfibre cloth, a grain-first approach, and smart drying, you’ll bank reliable results in minutes. If your kitchen sees heavy hard-water action, adopt the deionised rinse and the one-drop oil buff to lock in the shine. Ready to try it on your own fridge, hob, or sink—and which piece of stainless steel are you most eager to transform today?
Did you like it?4.3/5 (23)